How to Install Asterisk
Asterisk is a great open source for building IP based communication products. It is used to build IP PBX(private branch exchange), VoIP(voice over internet protocol) gateways, conferencing servers etc. One side it connects to PSTN (public switched telephone network), and other side it connects to VoIP network. In this article, we will be discussing how to install Asterisk in Ubuntu 18.04 LTS, 64 bit machine.
Steps to install Asterisk
To install Asterisk, you need to
- Install essential packages
- Download Asterisk source
- Install dependencies
- Build
- Create user
- Configure subscribers
Install essential packages
Login to machine with sudo privilege user or root user.
sudo apt update && sudo apt upgrade
sudo apt install wget build-essential subversion
sudo apt install wget build-essential subversion
Download Asterisk source
Download the latest version of Asterisk source code to /usr/local/src directory.
cd /usr/local/src
sudo wget http://downloads.asterisk.org/pub/telephony/asterisk/asterisk-15-current...
sudo tar -xvzf asterisk-15-current.tar.gz
cd asterisk-15.6.0
sudo wget http://downloads.asterisk.org/pub/telephony/asterisk/asterisk-15-current...
sudo tar -xvzf asterisk-15-current.tar.gz
cd asterisk-15.6.0
Install dependencies
Execute below two script to resolve the dependencies before compiling the Asterisk source
sudo contrib/scripts/get_mp3_source.sh
sudo contrib/scripts/install_prereq install
sudo contrib/scripts/install_prereq install
If the dependency packages installed successfully, you will see below message after script execution complete.
#########################################
## install completed successfully
#########################################
## install completed successfully
#########################################
Build
Execute below commands to build Asterisk source
sudo ./configure
After successful execution of above script, you should see Asterisk logo in terminal as shown in below image.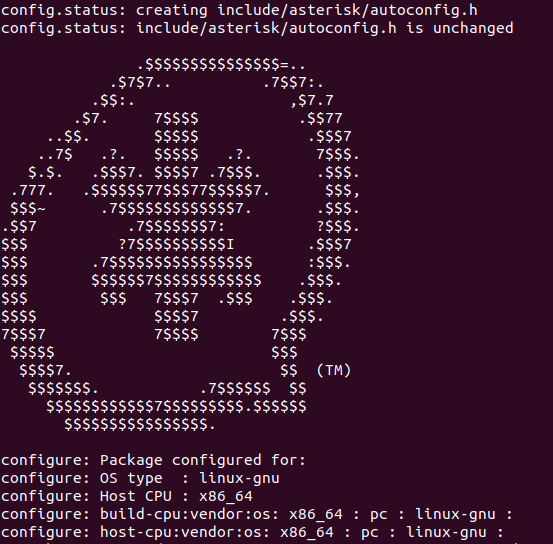
Next you need to select modules to want to build and install. You need to execute make menuselect command.
sudo make menuselect
You should see GUI as below.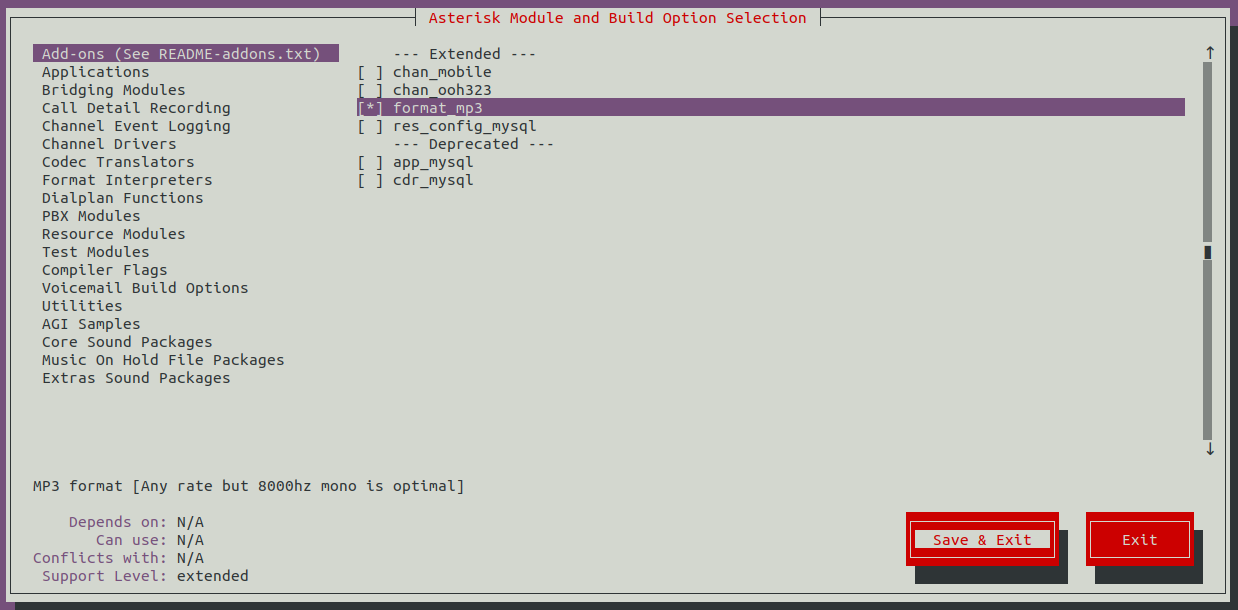
Please make use of tab, space and enter keys to move, select and save/exit in GUI shown above as mouse may not work over this GUI. Select the format_mp3 and Save and Exit to continue build and install process. Next execute make -j2 command to continue.
sudo make -j2
Once the build is complete, you should see below message in terminal.
+------------- Asterisk Build Complete -------------+
Next, execute below command to install Asterisk.
sudo make install
Once installation over, you should see below message
+------------------------------ Asterisk Installation Complete ------------------------------+
Now generate the generic and PBX config files.
sudo make samples
sudo make basic-pbx
sudo make config
sudo ldconfig
sudo make basic-pbx
sudo make config
sudo ldconfig
Create user
To run Asterisk, using asterisk user, you need to create the asterisk user with required privilege.
sudo adduser --system --group --home /var/lib/asterisk --no-create-home --gecos "Asterisk PBX" asterisk
vi /etc/default/asterisk
vi /etc/default/asterisk
Uncomment below two lines and and save the /etc/default/asterisk file.
AST_USER="asterisk"
AST_GROUP="asterisk"
AST_GROUP="asterisk"
Execute below commands to grant proper privilege and group access.
sudo usermod -a -G dialout,audio asterisk
sudo chown -R asterisk: /var/{lib,log,run,spool}/asterisk /usr/lib/asterisk /etc/asterisk
sudo chmod -R 750 /var/{lib,log,run,spool}/asterisk /usr/lib/asterisk /etc/asterisk
sudo chown -R asterisk: /var/{lib,log,run,spool}/asterisk /usr/lib/asterisk /etc/asterisk
sudo chmod -R 750 /var/{lib,log,run,spool}/asterisk /usr/lib/asterisk /etc/asterisk
Configure subscribers
After installation over, you can see the configuration files available at /etc/asterisk directory and 15 endpoints provisioned starting from 1101 to 1115. Subscriber (or endpoints) details are present in /etc/asterisk/pjsip.conf. Now you can make SIP registrations, calls by using Asterisk as a SIP B2BUA.
Subscriber configuration block example in pjsip.conf file
;================================
;Maria Berny
;Director of Customer Experience
;Maria Berny
;Director of Customer Experience
[1101](endpoint-internal-d70)
auth = 1101
aors = 1101
callerid = Maria Berny
[1101](auth-userpass)
password = SW2fur7facrarac
username = 3605657CFB45
[1101](aor-single-reg)
mailboxes = 1101@example
If you want to disable the authentication challenge from Asterisk for the particular subscriber, you need to comment the auth line in subscriber configuration block (in pjsip.conf file). You can change the username and password of a subscriber as well. The modified subscriber block looks as below.
;================================
;Maria Berny
;Director of Customer Experience
;Maria Berny
;Director of Customer Experience
[1101](endpoint-internal-d70)
;auth = 1101
aors = 1101
callerid = Maria Berny
[1101](auth-userpass)
password = SW2fur7facrarac
username = 3605657CFB45
[1101](aor-single-reg)
mailboxes = 1101@example
To receive different contact for each registration from subscriber use remove_existing = yes configuration. You can configure Asterisk to send OPTIONS at regular interval by qualify_frequency = 15 configuration. Syntax example below.
[aor-single-reg](!)
type = aor
remove_existing = yes
max_contacts = 1
qualify_frequency = 15
type = aor
remove_existing = yes
max_contacts = 1
qualify_frequency = 15
Other useful commands
To start, stop and restart the Asterisk server, use below commands
sudo systemctl start asterisk
sudo systemctl stop asterisk
service asterisk restart
sudo systemctl stop asterisk
service asterisk restart
To access Asterisk from terminal use asterisk -r command.
sudo asterisk -r
To see endpoints use below command in asterisk prompt
pjsip show endpoints
To delete registered endpoints use below command in asterisk prompt
database deltree registrar/contact
For more information regarding Asterisk configuration you may like to visit asterisk wiki page.
Tag:
Asterisk, SIP PBX
WebRTC Load Testing
Features
Signalling SIP, IMS, JSON, HTTP
Media PCMA, PCMU, AMR, OPUS, VP8
Security TLS, SRTP/DTLS, Websocket
Features , Syntax , Example
Performance, Capability
Machine Desktop 2.4 GHz, 8 GB RAM
Memory/Endpoint 12Kb
Rating 1 100,000 endpoints, 15 CPS, 15 sec call
Rating 2 3600 endpoints, 120 CPS, 15 sec call
Cost, Packages
Check cost, packages here.