Setting up DNS Server (bind9)
This section describes how to setup DNS server in Ubuntu 12.04 using bind9.
Login as root to system and follow below steps
- Remove bind9 if presentapt-get remove bind9
apt-get --purge remove bind9
rm -rf /etc/bind - Install bind9apt-get install bind9
- Lets say static ip will be used for system, and also lets hard-code dns servers for system. So you need to modify /etc/network/interface file. The file should look as below.iface lo inet loopback
auto eth0
iface eth0 inet static
address 192.168.1.100
netmask 255.255.255.0
gateway 192.168.1.1
network 192.168.1.0
broadcast 192.168.1.255
dns-nameservers 192.168.1.100 127.0.0.1 8.8.8.8 - You need to setup managed as false in network manager config file. Go to /etc/NetworkManager/NetworkManager.conf file.
The file /etc/NetworkManager/NetworkManager.conf should look as below.[main]
plugins=ifupdown,keyfile
no-auto-default=38:60:77:93:0D:42,
[ifupdown]
managed=truePlease note that for no-auto-default, you have to put your system MAC address.
- You need to setup your /etc/bind/named.conf file. In this particular example, we are planning to setup domain as group1-imslab11.in. Under that domain, we are planning to have 3 hosts pcscf, icscf and scscf. If you follow this example properly, at the end of this example, you can ping to
group1-imslab11.in
pcscf.group1-imslab11.in
scscf.group1-imslab11.in
icscf.group1-imslab11.in
Now add/modify the named.conf file should look as below.// This is the primary configuration file for the BIND DNS server named.
//
// Please read /usr/share/doc/bind9/README.Debian.gz for information on the
// structure of BIND configuration files in Debian, *BEFORE* you customize
// this configuration file.
//
// If you are just adding zones, please do that in /etc/bind/named.conf.local
include "/etc/bind/named.conf.options";
include "/etc/bind/named.conf.local";
include "/etc/bind/named.conf.default-zones";
include "/etc/bind/zones.rfc1918";
include "/etc/bind/rndc.key";
controls {
inet 127.0.0.1 port 953
allow {127.0.0.1;} keys {"rndc-key";};
};
zone "group1-imslab11.in" {
type master;
file "/etc/bind/open-ims.dnszone";
notify no;
};
zone "1.168.192.in-addr.arpa" IN {
type slave;
file "/etc/bind/open-ims-rev.dnszone";
allow-query {any;};
masters {192.168.1.100;};
notify no;
}; - Now the forward zone file (oen-ims.dnszone) should look as below.$ORIGIN group1-imslab11.in.
$TTL 1W
@ 1D IN SOA group1-imslab11.in. root.group1-imslab11.in. (
2006101001 ; serial
3H ; refresh
15M ; retry
1W ; expiry
1D ) ; minimum
1D IN NS necs04.group1-imslab11.in.pcscf 1D IN A 192.168.1.100
_sip.pcscf 1D SRV 0 0 4060 pcscf
_sip._udp.pcscf 1D SRV 0 0 4060 pcscf
_sip._tcp_.pcscf 1D SRV 0 0 4060 pcscficscf 1D IN A 192.168.1.100
_sip 1D SRV 0 0 5060 icscf
_sip._udp 1D SRV 0 0 5060 icscf
_sip._tcp 1D SRV 0 0 5060 icscfgroup1-imslab11.in. 1D IN A 192.168.1.100
necs04.group1-imslab11.in. 1D IN A 192.168.1.100
group1-imslab11.in. 1D IN NAPTR 10 50 "s" "SIP-D2U" "" _sip._udp.group1-imslab11.in.
group1-imslab11.in. 1D IN NAPTR 10 50 "s" "SIP-D2T" "" _sip._tcp.group1-imslab11.in.
scscf 1D IN A 192.168.1.100
_sip.scscf 1D SRV 0 0 6060 scscf
_sip._udp.scscf 1D SRV 0 0 6060 scscf
_sip._tcp.scscf 1D SRV 0 0 6060 scscf
hss 1D IN A 192.168.1.100
presence 1D IN CNAME hss - Now you setup reverse zone file (open-ims-rev.dnszone).
The file open-ims-rev.dnszone looks as below.$TTL 86400
@ IN SOA necs04.group1-imslab11.in. root.group1-imslab11.in. (
2006101001 ; serial
3H ; refresh
15M ; retry
1W ; expiry
1D ) ; minimum
IN NS necs04.group1-imslab11.in
; imslan Servers
100 PTR pcscf.group1-imslab11.in.
100 PTR icscf.group1-imslab11.in.
100 PTR scscf.group1-imslab11.in.
100 PTR hss.group1-imslab11.in. - Now you have configured DNS server. Restart the service /etc/init.d/bind9 restart
- From a different machine, point DNS server to new DNS server that you just setup now.
- Now ping to any below host, you should be able to ping those.
group1-imslab11.in
pcscf.group1-imslab11.in
scscf.group1-imslab11.in
icscf.group1-imslab11.in
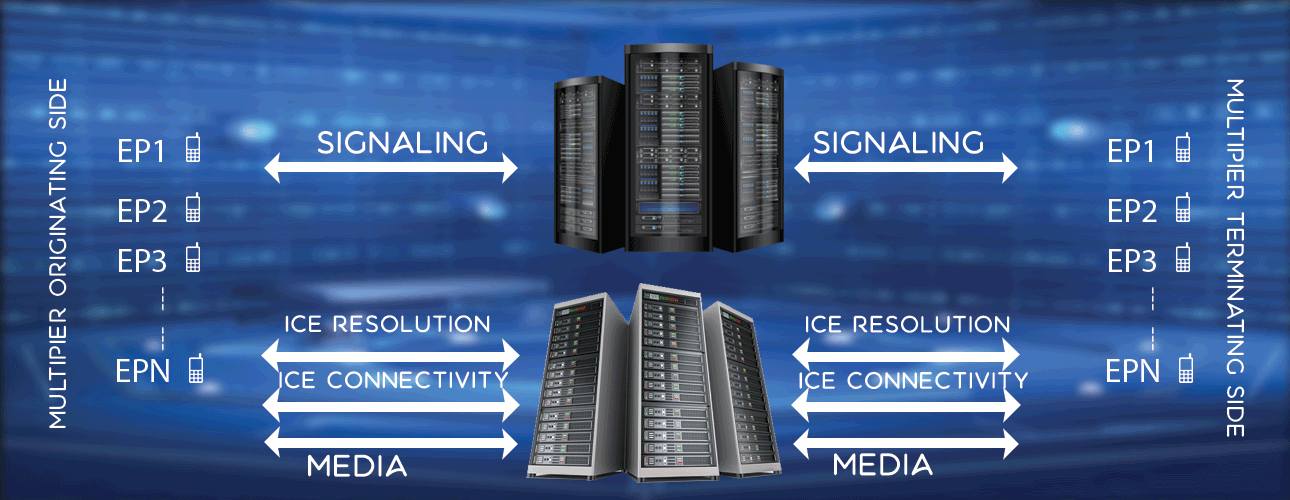
WebRTC Load Testing
Features
Signalling SIP, IMS, JSON, HTTP
Media PCMA, PCMU, AMR, OPUS, VP8
Security TLS, SRTP/DTLS, Websocket
Features , Syntax , Example
Performance, Capability
Machine Desktop 2.4 GHz, 8 GB RAM
Memory/Endpoint 12Kb
Rating 1 100,000 endpoints, 15 CPS, 15 sec call
Rating 2 3600 endpoints, 120 CPS, 15 sec call
Cost, Packages
Check cost, packages here.